
Test Plans - Web
Learn how to create a test plan for your web app which comprises all your tests, setup & teardown tests and a list of configuration to run with
A test plan is a container of tests, which include specific test labels and/or test suites that can be organized to run consecutively. The test plan can include tests/test suites that run before and/or after the list of tests/test suites. The test plan can include settings that override the tests' default settings.
Test plans are great If you need to do:
- Set up your environment before your tests execute.
- Clean up your environment after your tests execute.
- Run your tests on several browsers and operating systems.
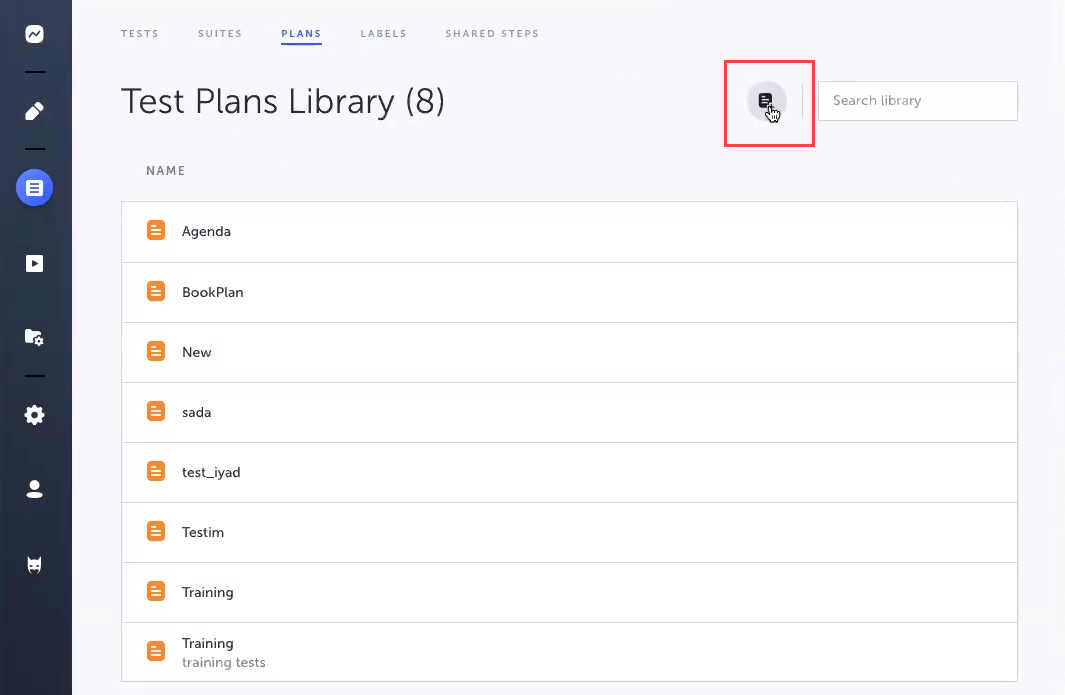
Create a New Web Test Plan
To create a new test plan:
- Navigate to Test List in the main menu.
- Select Plans from the top navigation.
- Click the New Plan button.
- Enter the Name and Description for your new Test Plan.
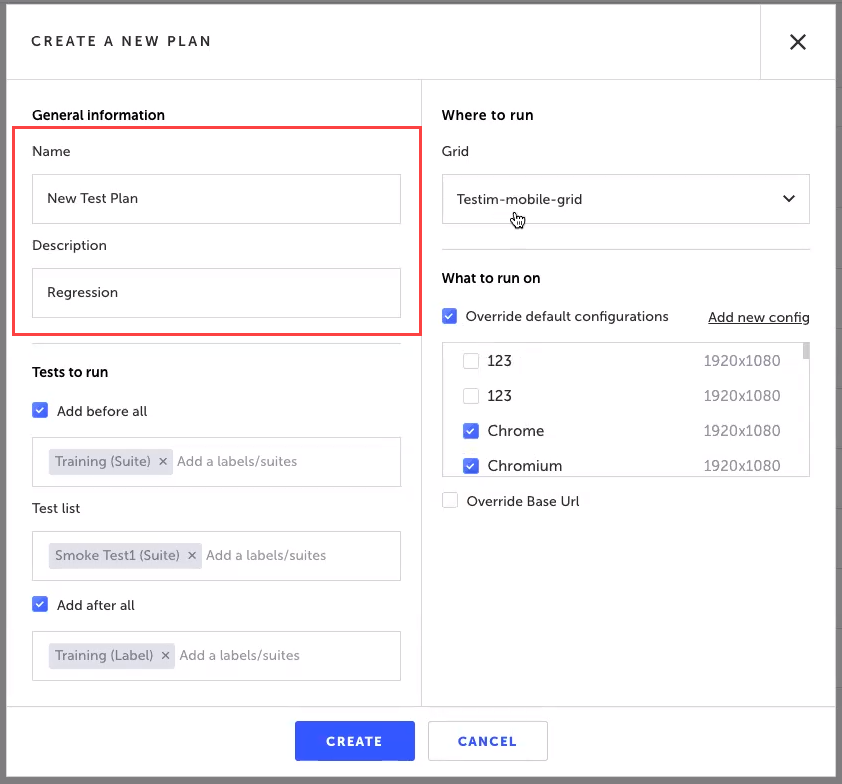
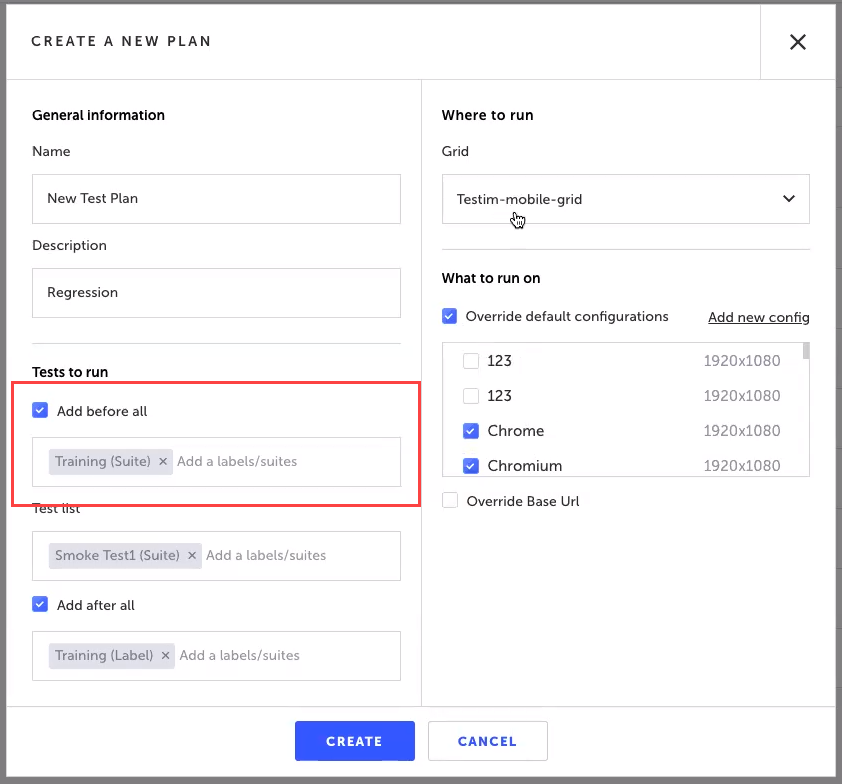
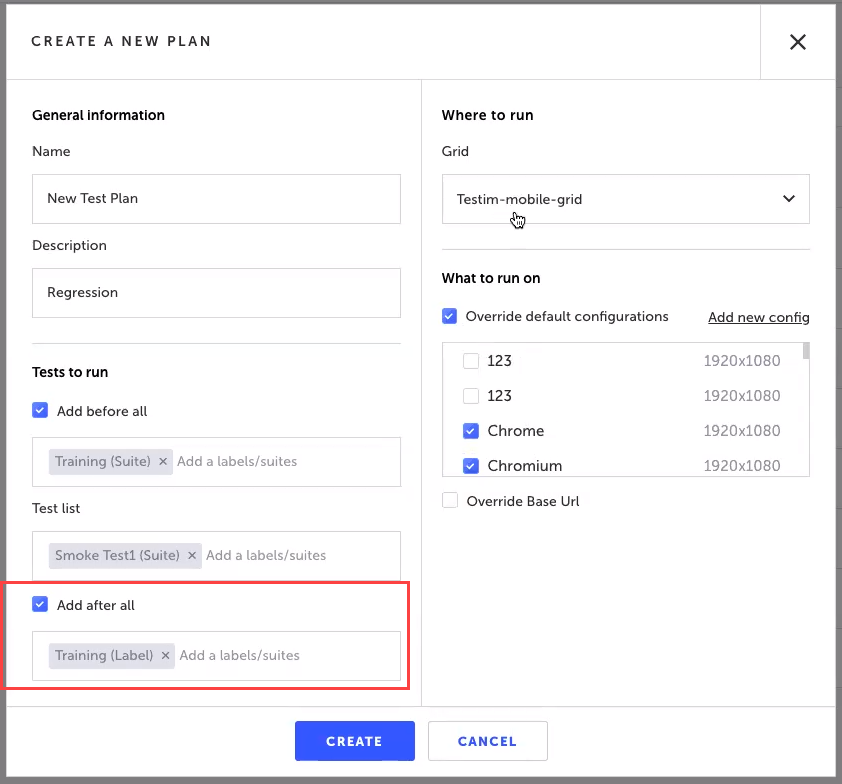
- Select the Add Before All checkbox if you want to run a set of tests prior to the Test Plan's main test list. Enter the name of one or more Test Suites or Test Labels. Typically this would include setup steps, such as login, etc.
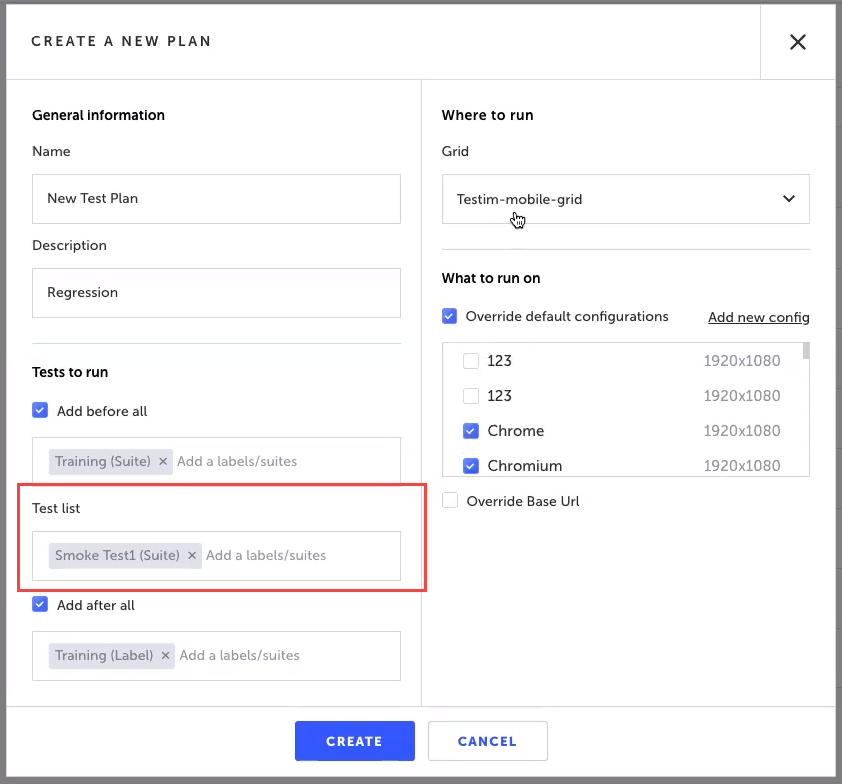
- Enter the name of one or more Test Suites or Test Labels in the Test List box.
- Select the Add After All checkbox if you want to add "teardown" tests after the test list has run. Enter the name of one or more Test Suites or Test Labels. It is a best practice to include "teardown" tests in your test plan. These are tests designed to clear the cache, clean up data, log out users, etc. once the tests are complete.
Note:
- The tests in "Before all" and "After all" will always run in parallel level
1. Only the "Test List" can run at a higher parallelization level, if it is set in the CLI.- If any of the “before all” tests fail, the tests in the Test List WON’T run. As a result, the entire execution will be marked as ‘failed’ and all remaining queued test runs will be aborted.
- The tests in "Add After All" will always run even if tests in Test list failed.
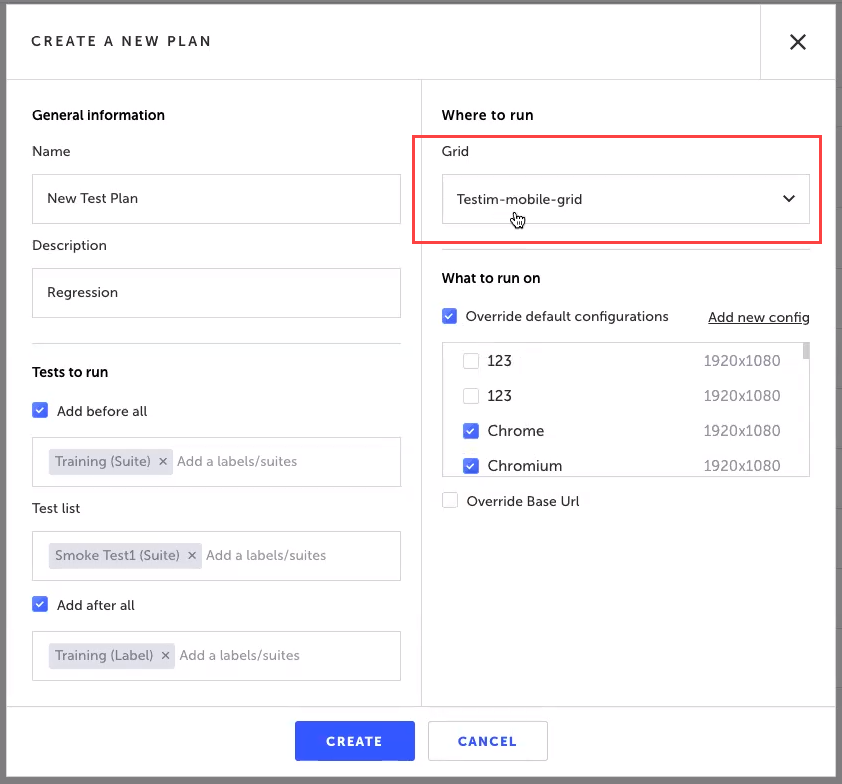
- In the Where to Run field, select the Grid you would like to execute your tests on. See Grid Management for more information.
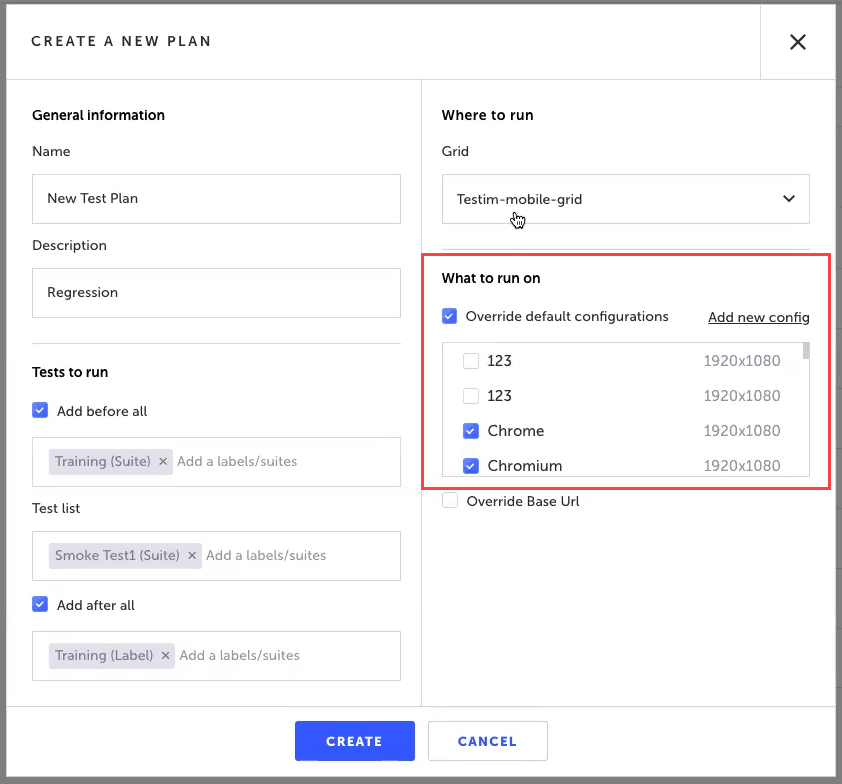
- In the What to run on section, select the Override default configurations checkbox to manually set which Browsers, Operating Systems, and resolutions to run your tests on. Choose from your list of configurations or create a new one. See Configurations Library for more information. This will override the default configurations of the tests. Selecting multiple configurations will result in multiple executions, respectively.
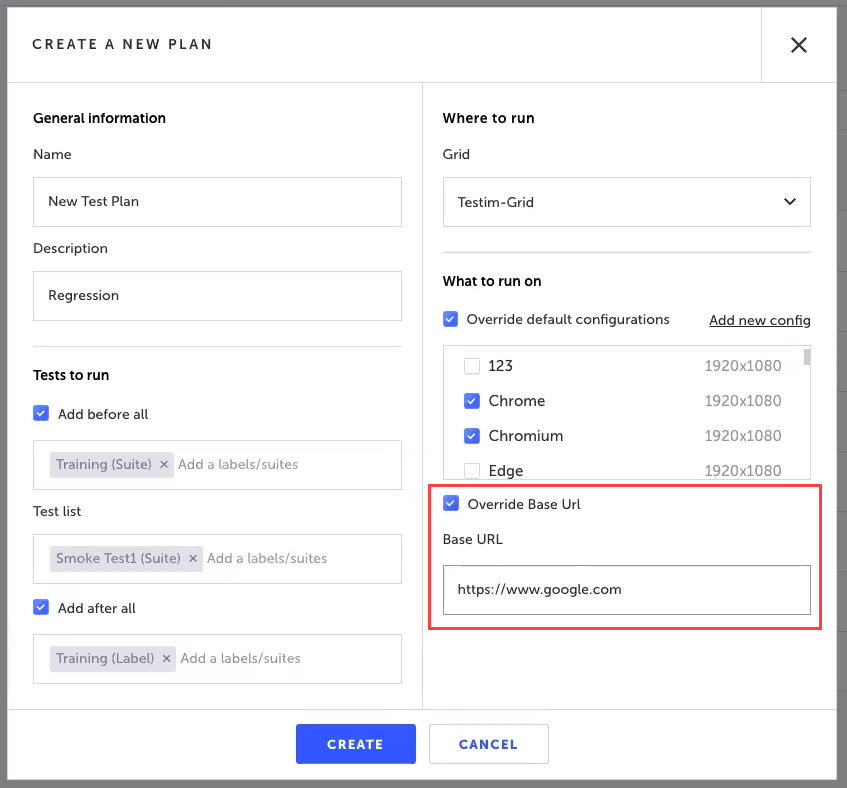
- In the What to run on section, select the Override Base URL checkbox to set the start URL of your web app (e.g. production or staging environment). For more information, see Base URL.
- Click the Create button to create your test plan.
Running your Test Plan
In order to execute a test plan, you'll need to specify the plan name in your CLI command like this:
--test-plan "Test Plan Demo"
If you add a different grid name to the CLI, it will override the grid defined in the plan.
CLI Steps
If you have CLI steps in your tests make sure the CLI is running before executing.
Share parameters between your test
When you use a plan you can share parameters between tests e.g. create an account in the setup and use those credentials throughout all tests. See Parameters for more information.
Run test plan directly from the editor
To run a test plan directly from the editor:
- Go to Test List > Plans
- Select the plan/s you would like to run.
- Click the Play button

If you have a CLI action in one of the tests, please make sure you have CLI running
Updated 6 months ago